Showing posts with label Themes. Show all posts

Thursday, August 9, 2012

Baby Shower {Queen of the Jungle}


Oh my goodness, I am so excited about this party, I don't even know where to begin!...
Okay, I should probably start with the invite, right?
My sister-in-law is expecting her first baby, a girl, the end of this month.
Her nursery theme is Jungle.
You know how I love a theme, so we matched the shower to the new little monkey's room!
I got the cute little animals from Hobby Lobby, then GLAMMED them up a bit with some tiny pink bows and little rhinestones.
I am so in love with the banner and backdrop!  The hubs thinks the backdrop looks like seaweed, but I still love it!
I used this free preschool pack from 2 Teaching Mommies for the banner and fun activities for the kids:
The kids thought it was great to have a table all to themselves with activities just for them!
They had puppets, coloring books, animal size sort, and animal matching, all to go with the jungle theme!
 We had a few games for the adults, as well.  We played Price is Right: High or Low
We put price tags on several common baby items.  The guests got a sheet of paper to write down whether the price on the tag was High or Low.  The person that got the most right got a prize.  We used Scent Bars as the prizes for this game, and Baby Gift Bingo (sorry, I didn't get pictures of that one.)
We also played Candy Bar Matching.
On the green cards were common terms that went with pregnancy, labor, and newborns.
On the pink cards were candy bars that matched the terms.
If you made a match, you got the candy bar.  We had so much fun with this one!

Refreshments were a banana split bar, served in adorable Zoo Pals Safari Edition Bowls.
The guests left with a sweet little box of "Monkey Mix" and a heart-felt
"Thanks for Monkey-ing around with us!"
I hope you enjoyed this shower as much as I did.
I had so much help putting it together.
Thanks Mom, Aunt Phyl, Jen, Rebecca, & Candace!
And I can't forget the manual laborers.
Thanks Babe, Dad, Blair, Kaleb, Austin, and Nate for helping with the setup and tear down.  Couldn't have done it without you!

Photobucket

Friday, March 30, 2012

Ice Cream Parlor {Ice Cream & the Cherry on Top}

I Scream.  You Scream.  We all Scream for Ice Cream!
Don't these favors just make you want to take a big ol' lick?
I cut the cones out with my Silhouette.
The "ice cream" is made from pink snowballs.  The cherry on top is a red/pink gumball that I stuck on a toothpick and then into the snowball. 
I made the tags up in the My Memories Software
then I printed them on white cardstock and cut them out with my Silhouette.
As you can see from the picture, it didn't cut perfectly, but I still love them!
The tags were also stuck on with a toothpick.
The cones were filled with ice cream scented stickers, ice cream shaped marshmallows, silly bands, an ice cream/treat shaped puzzle eraser, and bubbles.
While the kids entertained themselves dumping out the contents of their bubbles blowing bubbles, Daddy-Did-It got to work "Smooshing" ice cream.
Each person got to choose their mix-ins, ice cream, and toppings.
Then DDI got to work mixing up sweet concoctions.
This is what the Ice Cream Bar looked like.
*Sundae dishes  *Little bowls for the kiddos  *Waffle cones  *Mini cones
*Mini Reece's Pieces  *Chocolate Whoppers  *Strawberry Whoppers
*Heath Toffee Bits  * Andes Mints Pieces  *Mini Chocolate Chips
*Mini Reece's Cups
*Mrs. Richardson's Butterscotch Caramel (all time best.  EVER!)  *Maraschino Cherries
*Sprinkles
*Chocolate Sauce  *Strawberry Sauce
*Neapolitan Oreos
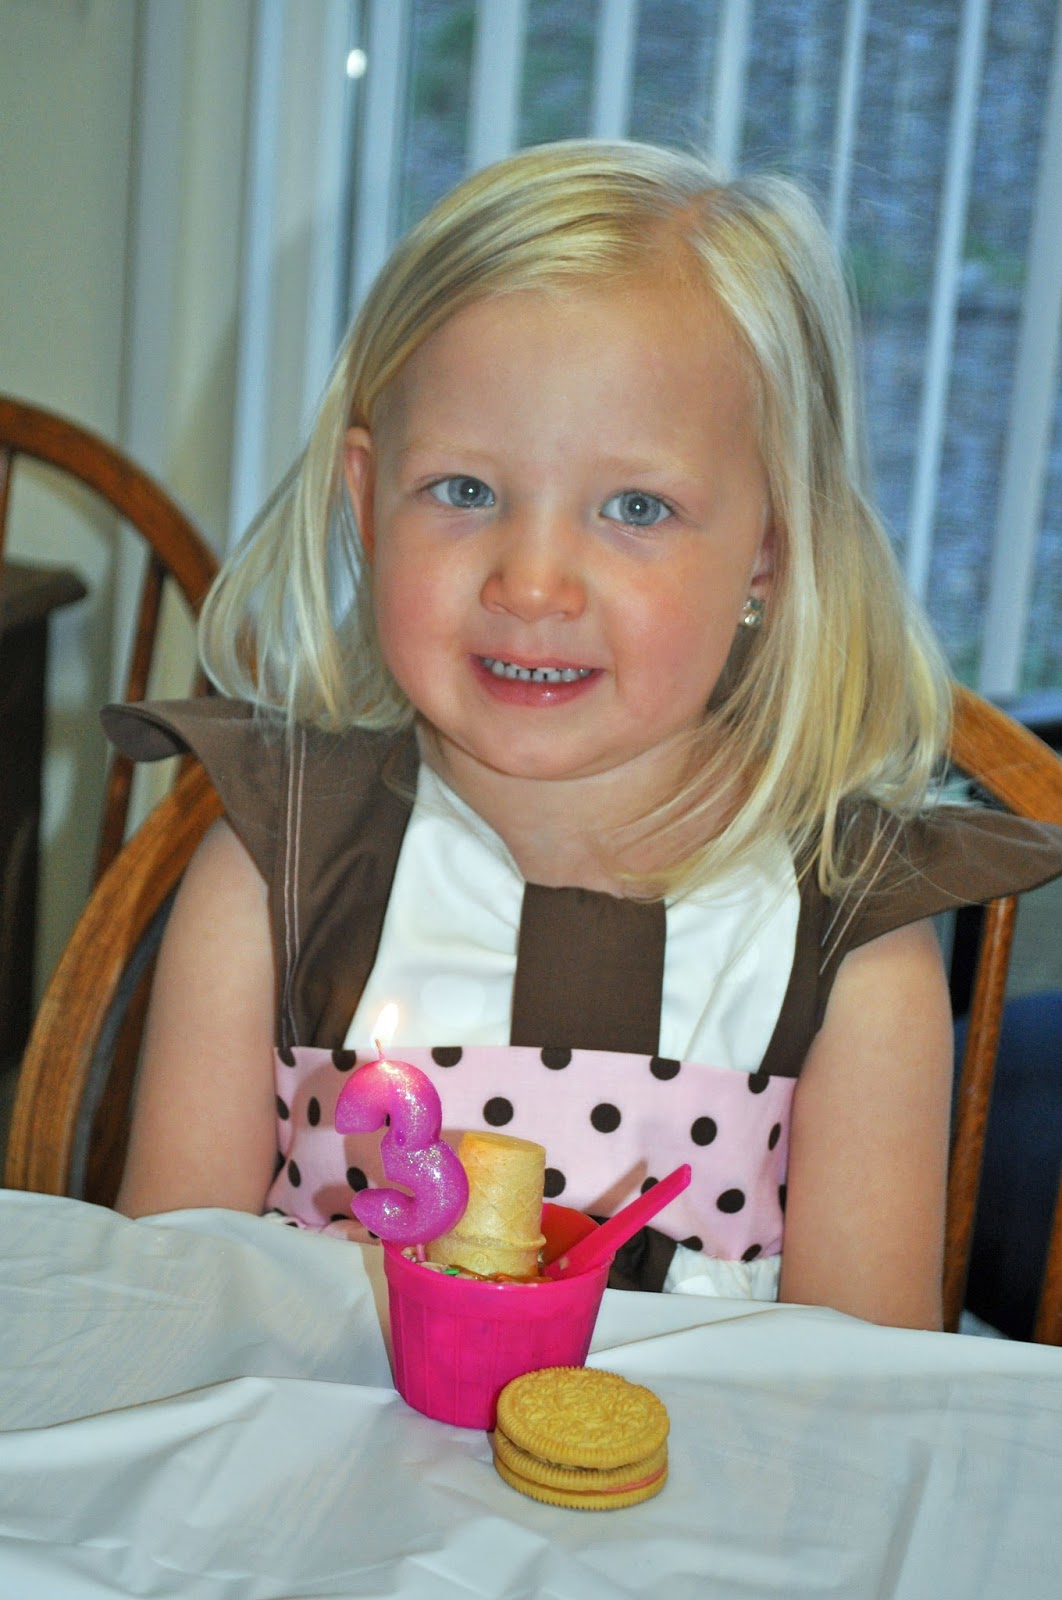
The birthday girl had to have a little of everything!
She loved the Neapolitan cookies, but only the frosting.
She isn't a cake or cookie fan...which is why she didn't have a cake!
And that's it.
Easy Peasy.
No big meal to fuss over.
Just Dessert!
Thanks for sharing my sweet baby's 3rd birthday with us!

Tuesday, March 27, 2012

Ice Cream Parlor Stand

A couple of years ago, the girls got this little grocery stand for Christmas:
As you can see, it's gotten a little beat up.
The paint was in bad shape and the bottom shelf is completely broken out.
I wanted to use it for Cassy's Ice Cream Parlor party
so Daddy Did It and I got to work.
Some disassembling, sanding, priming, and painting later
We ended up with THIS: 
Oh yeah, I did a little sewing, too.
I'll tell you how I made the custom canopy in a later post.
So, what do you think?
I tell ya, the girls LOVE it!  It's like a brand new toy...one that appeals more to the girly nature of our house!
And it worked great as a stand to hold the gifts and favors...also coming in a later post.


featured button

Tuesday, March 6, 2012

Ice Cream Parlor Party Invites

It's here again, Cassy;s Birthday!!!  I always seem to go over the top with her parties (click here for her 1st birthday & here for her 2nd birthday).  Even more so than the rest of the girls.  Maybe it is because she has the first birthday of the year.  Or maybe it is because she is still little enough that she doesn't really care what I do.  So I can go wild on any theme I choose...so long as there are sweets involved!

This party was inspired by something my dad used to say to us when I was little, and now I say (and my kids say to each other).  The conversation would go like this:

Child:  I'm thirsty.
Dad:  I'm Friday.  Come over Saturday and we'll have a Sundae.
Child:  {rolling eyes}

Anyone else familiar with that one?
I had seen so much cute ice cream ideas on Pinterest (click here to see my party ideas board), I just had to go with an Ice Cream Parlor theme.
This lucky little girl gets TWO parties this year!
One for Daddy's family
And one for Mommy's family
Because you can never have too much ice cream, right??? 
I used the My Memories Suite to make the invitations.  It was so easy!  And they look like I spent a lot of money on custom invitations.  The best part, I made them as a 4x6 so I can just have them printed off at Costco as a standard picture.  And I just so happen to have a coupon for 50 free prints.  Score!  Adorable free invites!

Now I'm off to play with a new toy that came in the mail.  Lots more Ice Creamy goodness to come.  I promise!

Wednesday, October 19, 2011

Holiday Centerpieces

Last year, on my birthday to be exact, our Relief Society had its annual Holiday Dinner, with a twist.  Our R.S. President didn't want to have it too close to Christmas, so she wanted us to combine Thanksgiving, Christmas, and New Year's into one big party.  Lucky me, I got to come up with the centerpieces.  Initially, I was so excited!  What's more fun than decorating for a bunch of ladies?  But as the days wore on, I was coming up short.  Six tables, two for each holiday. The theme was "Holiday Traditions."  It took me a while, but I finally pulled it off.
For Thanksgiving, I used a leaf wreath with a cake plate in the center.  On the cake plate was a cornucopia filled with fall flowers, and on each side was a cute little turkey candle holder.
The second Thanksgiving table was all about baking for the holidays.  Rolling pin, mini cookie cutters, potato masher, and a ceramic pie were sprinkled with cinnamon sticks and cloves.  It smelled so good!  I added some height with a cookie tin under the cloth.
My family always decorates for Christmas the day after Thanksgiving, so of course, I had to use some of my favorite decorations for a Christmas table.  This one got a lot of "oohs and ahhhs."  There is just something so classic and festive about red and gold.
The other Christmas table holds a small portion of my mom's Nutcracker collection.  Every year for as long as I can remember, my mom has received at least one nutcracker for Christmas.  She finally had to tell us NO MORE!  because she ran out of room to store them all!
New Year's was the hardest one to come up with.  There is the traditional champagne, I mean sparking cider (this is an LDS get together.  We aren't big drinkers ;) ), but what to do for the second table?
I thought, what do we do each year to kill the time before midnight?
Of course!  Play games.
So I rounded up some classics and topped it with a fun timer that I received as a gift when I was in the second grade....a long, Long, LONG time ago.
To jazz it up a little more, I spelt out festive words with the Scrabble tiles.
On a side note, is it weird that I have no idea how to play Scrabble?  This game sat around our house for 20+ years and I have never seen it opened until this event!

So what about you?  Do you have fun Holiday traditions?  How will you adorn you tables in the coming Holiday Season?  I'd love to hear what you have up your sleeve! 

Monday, April 4, 2011

Tea for 2: The Complete Party

Okay, okay, I know!  Enough already!  No more tea party. But I want to enter this into Bird's Party Link Up, so I need to a little overview of the whole party.
So here goes:  (Click on the Labels to see more)


Skirt Tutorial Here


 "Tea Cup"  Cupcakes

 Build your own Tea sandwiches

 Candy Buffet

Dollar Spot hats from Target

(Memory Slide Show)
We made a slide show of all of our favorite memories of Cassy, and played it on the T.V. during the party.

It was such a fun party and a great way to celebrate my baby turning 2!

Wednesday, March 23, 2011

Tea for 2: Tea Party Skirt Tutorial

I haven't taken a sewing class since I was in th 7th grade...about...gulp...12 years ago!
And that class was only a few weeks.
So I am by no means a highly skilled seamstress.
But, with some tips from all you amazing bloggers out there who are wonder workers on the machine, and the few things my aging brain has retained from that short class, I set out to create a one of a kind outfit for my little munchkin's birthday.

It turned out even better than I imagined, and a few of you have asked for a tutorial, so here it is!


 For the skirt, I started with:

  • 1 child shirt (large)
  • 2 yds. coordinating fabric (I'm not sure what this fabric is called.)
  •  Matching thread
  • 1 inch elastic (not pictured)
  • There is matching elastic ribbon in the picture.  I used this for the headband, not the skirt.


Cut Shirt to fit skirt length of child.  I did mine 12" for a size 2T.

Cut one side of shirt off, leaving you with the width of your child + 10" for gathering and .5" for seam.
So mine was 20"+10"+.5"= 30.5"
Cut 3 - 16"x43" strips of fabric.

Fold Each strip in half lengthwise and pin raw edges together, but don't iron the fold!

Measure every 7" at 2" from the raw edge on the first strip.
Create a cross with two pins at each spot to show where to begin sewing your cinches.

Sew from cross pins to the end (folded side) with your stitch length long and your tension tight.
For my machine, I set the length to 4 and the tension to 9.


For the next strip, I measured in 3", did my first cross pin, then measured every 7" for the rest.  I wanted the cinches to be offset.

For the last strip, I measured in 2", then measured every 7" for the rest.
As you finish each strip, be sure to tie off all the ends.

When you have sewn the scallops into each strip, it's time to cinch in the top.

Fold your top raw edges in 1/2" and iron.  Sew a running stitch with the same settings on your machine close to the edge of your ironed seems.  This will cinch in the length of your strip to about the length of your lining piece.  Be sure to leave a long length of thread on the ends so you can adjust the length of your strip if you need to.  Tie your ends off with a double or triple knot and cut off excess thread.  Repeat all three strips.
Sew bottom strip 5" from the bottom of skirt lining.  Be sure to sew just below your cinching line.
(Make sure you change your stitch length back to your normal settings)
Sew the second strip 2 1/2 inches from the lowest strip.
And the last strip 2 1/2 inches from the middle strip.

Now to turn the pretty strip of frill into a skirt!

Fold the top edge forward (toward strips) 1/2 inch.  Iron fold.
Now fold the skirt in half widthwise,with the skirt lining on the outside (right sides together.)  Pin.
Change your machine to a zigzag stitch. I chose M on my machine.
Stitch the edges together, making sure to backstitch at the beginning and end.

Turn right side out.  Fold the waistline down, until it just covers the stitching of the top strip.
(sorry for the lack of pictures for a little bit here.  I was distracted with a little one :) )
Pin down, then iron your new fold.
Change your stitch setting back to the straight stitch.
Begin sewing at the bottom fold about 1 inch from the skirts back seem.
Stop sewing one inch from the other side of the back seem.
Cut elastic 2 inches shorter than child's waist measurement.
Lace through waist band with a large safety pin attached to the end.
Overlap your elastic about an inch and sew together.
Sew the opening closed, then adjust the fabric evenly around the elastic.
Step back and admire your work.
If this tutorial made any sense, you have a sweet skirt that is perfect for Tea!
***Please let me know if you run into a problem with this tutorial.  I've gone through it a few times, but I have this fear I missed something.  I will fix anything that is pointed out.***

For a great tutorial to make the shirt go to My Own Road.

For the flower, I cut several circles in graduating sizes, and pinched them while I hand sewed them together to ruffle it a little bit.  Then I sewed some silver beads in the center and sewed it to the shirt.

I used the same technique for the headband flower, then took apart a silk flower to make the pink flower stand out more.  I decided the white needed a little something, so I lightly rubbed the edges of the back flower with some hot pink ink.  Then I just sewed it to the elastic ribbon.
I bought these hats at the dollar spot at Target.
Knowing she wouldn't wear the hat long, I made the headband so that she could wear it on the hat, or just as the headband.

Whew!  This is a long one!  Even for me!
Hope those of you that lasted to the end enjoy all the pink frilly-ness!
More to come this week on party prep!

*To see more of the cutie in her dress, go here.

Cherished Treasures”=