Tuesday, May 25, 2010

Summer Sign

Here in Utah, Spring has been struggling to show it's beautiful face, so I decided to give it a nudge by getting started on some Summer decor.
So easy and SO cheap
All I used was
Some old cereal boxes (to back the letters for sturdiness)
Scraps of Paper
Cricut & Cartridges
Hole Punch
Jute bought at Home Depot

Too bad this one is for my Sister-in-law!
Now to make one for ME!

Then, onto a few projects involving all my tin cans!

Wednesday, May 19, 2010

Unicorn Appliquéd Shirt for the Birthday Girl


Remember when I told you that I had another birthday coming up and she wanted a My Little Pony theme?
She changed her mind.
She decided she wanted to go to Farm Country (the local petting zoo) and have a Unicorn theme.
So here's what I came up with:
Sorry it's not a great photo.  It was the best one I got of the actual shirt.  There were tons of adorable ones of her, but you couldn't see much of her shirt in them.

Here's how I did it:

What you'll need:
Cricut Machine
Cricut Cartridge
Sharp blade for Cricut (works better when cutting out small details)
Cartridges for Cricut.  I used Dress up Paper Dolls, Mickey Mouse Font, and the Home Essentials
Fabric
Coordinating thread
Heat n Bond Lite
Tear Away Stabilizer if you will be sewing on with a sewing machine

Cut your Heat n Bond to fit your fabric, then iron onto the wrong side of your fabric according to package directions.
Place on Cricut mat and insert into machine.

Cut out each layer of desired image.
Iron the shirt where you want your applique, then position your bottom layer.


Iron the image on the shirt, following package instructions.
I wanted the mane and tail to be yellow, so I made this my base layer.
I then cut out the unicorn again in pink fabric and cut off the mane and tail so that the yellow would show through.
Position your second layer and iron on.


I decided the shirt needed a little more and I wanted to personalize it, so I cut out a "C" for Charly, and some flowers in purple, pink, and yellow to tie it all together.


 Once you iron it all on, you can either hand sew them on, or use your sewing machine.

At this point, I was a little rushed (and sleep deprived from a teething one year old keeping me up all night) so I forgot to take pictures.

I decided to hand stitch the flowers, and machine sew the unicorn and C.
I did the flowers by hand so that they could fray up a little on the edges.

I also did some pants.
This is before I have actually sewn them on.  I didn't get a chance to take pictures of the final product,
but what do you think?  Not bad for a first attempt, huh?
And the Birthday Girl absolutely loved it!
Which makes for a happy Mommy, even if I did feel like I was going to pull my hair out, trying to get it done in time!

Next time, No procrastinating!

P.S.  Thanks to TaDa! Creations
for the amazing tips and tutorial on appliquéing.
You can find it here.

P.S.S.
If you want the cute look without having to take the time to sew the pieces on, buy the Heat n Bond in the Red package.


I was featured!

It's FUN to craft featured  my Kitchen Bridal Shower!
Go Check it out:

Friday, May 14, 2010

Kitchen Bridal Shower

I "Whipped up a Kitchen Shower" 
for my soon-to-be sister-in-law, Megan.
I bet you can't guess what her colors will be for her kitchen!

Okay, so I may go a little overboard with a theme!
But I can't help it when red is my favorite color and this is the color scheme I want to use next time I decorate my own kitchen!
I got the idea for the tea towel cake here.
Aly&Ash is a cute blog with some great ideas.
Go check them out when you are done here!
(Aren't those mugs adorable!  My mom found them at a local trophy shop.  The black one has my brother's name on the other side, and her's has the date on the other side.)

It's kind of hard to see, but we kept the theme going with all of the decorations.
There were three kitchen gadgets strung up above each window.
These three are a grater, peeler, and cutting board.


Slotted spoon, can strainer, large spoon

Spatula, colander, ladel


Double ended rubber scraper, whisk, rubber scraper


Whisk, oven mitt, whisk


Silicone basting brush, kitchen scissors, spoon rest

And you want to know what I love about this?
We (my mom  and I) found most of it at the Dollar Store!
And it all doubles as the gift!


Measuring spoons and measuring cups

What's a party without food???

Chicken salad sandwiches and skewers with olives, cheese, and pickles


Strawberries for dipping in chocolate


Raspberry Lemonade
Another good deal:
This little cooler is only $19.97 at Sam's Club right now.
Costco has one similar, but I don't know how much it is.
My sister just filled the bottom with tulle and some leftover flowers from the decorations, and I tied the bow around it.  So cute and you can change it up for any occasion!


Thanks, Megan, for giving me a chance to go a little overboard!

(Sorry some of the pictures are hard to see.  I should have closed the blinds!)


Thursday, April 15, 2010

Home Grown Preschool

I have four girls ranging from 1 to 5 and a 2 year old nephew that live with me right now.  I decided to start a private little preschool this week.  The first couple of days I was going at it alone.  But I recently discovered this little gem:


Go check out this awesome blog!  We are doing an alphabet theme in our house, so this is perfect.  She has a ton of ideas for each letter of the alphabet.  Plus, she has FREE PRINTABLES for a lot of it!

Tuesday, April 6, 2010

Uh Oh!

I think my new love was just created!  I MUST get me one of  THESE!  Wish I'd had one for Cassy's birthday! Hope I have on for Charly's birthday!  Nate is going to flip when he hears about my new wish list!

Go check it out!  You will be wishing for one, too!

It isn't in stores yet.  It comes out on April 14th, but I SO wish I had the money to fork out for one!  Maybe I'll win one from the DIY Dish!  Oh please, oh please, oh PLEASE!

Friday, April 2, 2010

Helping the Easter Bunny

Here's the story:

I got a call from the Easter Bunny today and he said he was having trouble filling Daddy's Easter basket.  So he asked us to help him out.

Here's what Daddy will be getting in his basket from me and the girls:

*That's an egg carton*


*Inside*

And it took less than an hour!
And I got to do it with the kids,
in fact, it was all about the kids!

Wanna make one real quick?

Here's what I used:

Egg carton
Green acrylic paint
Small sponge brush (small worked better to get in the nooks and crannies of the egg carton)
Scrapbook paper
Tulle
Straight edge cutter
Corner rounder
Ink pads
Scrapbook letter stickers
Krylon crystal clear glaze (You could probably skip this one)
Regular printer paper
Colored pencils (or markers, crayons, whatever)
1 dozen plastic Easter eggs

I cut the scrapbook paper to fit the top of the egg carton, then painted  and sprayed the carton.  The spray didn't seem to do much, so you could probably skip it!  While the carton was drying, I put the lettering on the scrapbook paper and tied a bow with some tulle.  You can embellish the top however you like.  I also put numbers on the eggs.  I just thought it was cute!  Then I cut 4" squares out of printer paper and wrote on each one why each child loves Daddy.  I have four kids, so they each did three eggs.  The more original, the more it will mean to whomever you give it to.  Here is an example of one that I did from my one year old:


*And I just realized that I left out the "do" in that sentence!*
It should read:  ...you teach me to DO big kid things that Mommy is afraid to let me try.

Obviously my one year old isn't exactly coloring savvy yet, so I stamped her foot on this one, her and on another, and the last one has her little finger prints all over it!  Turned out so cute!


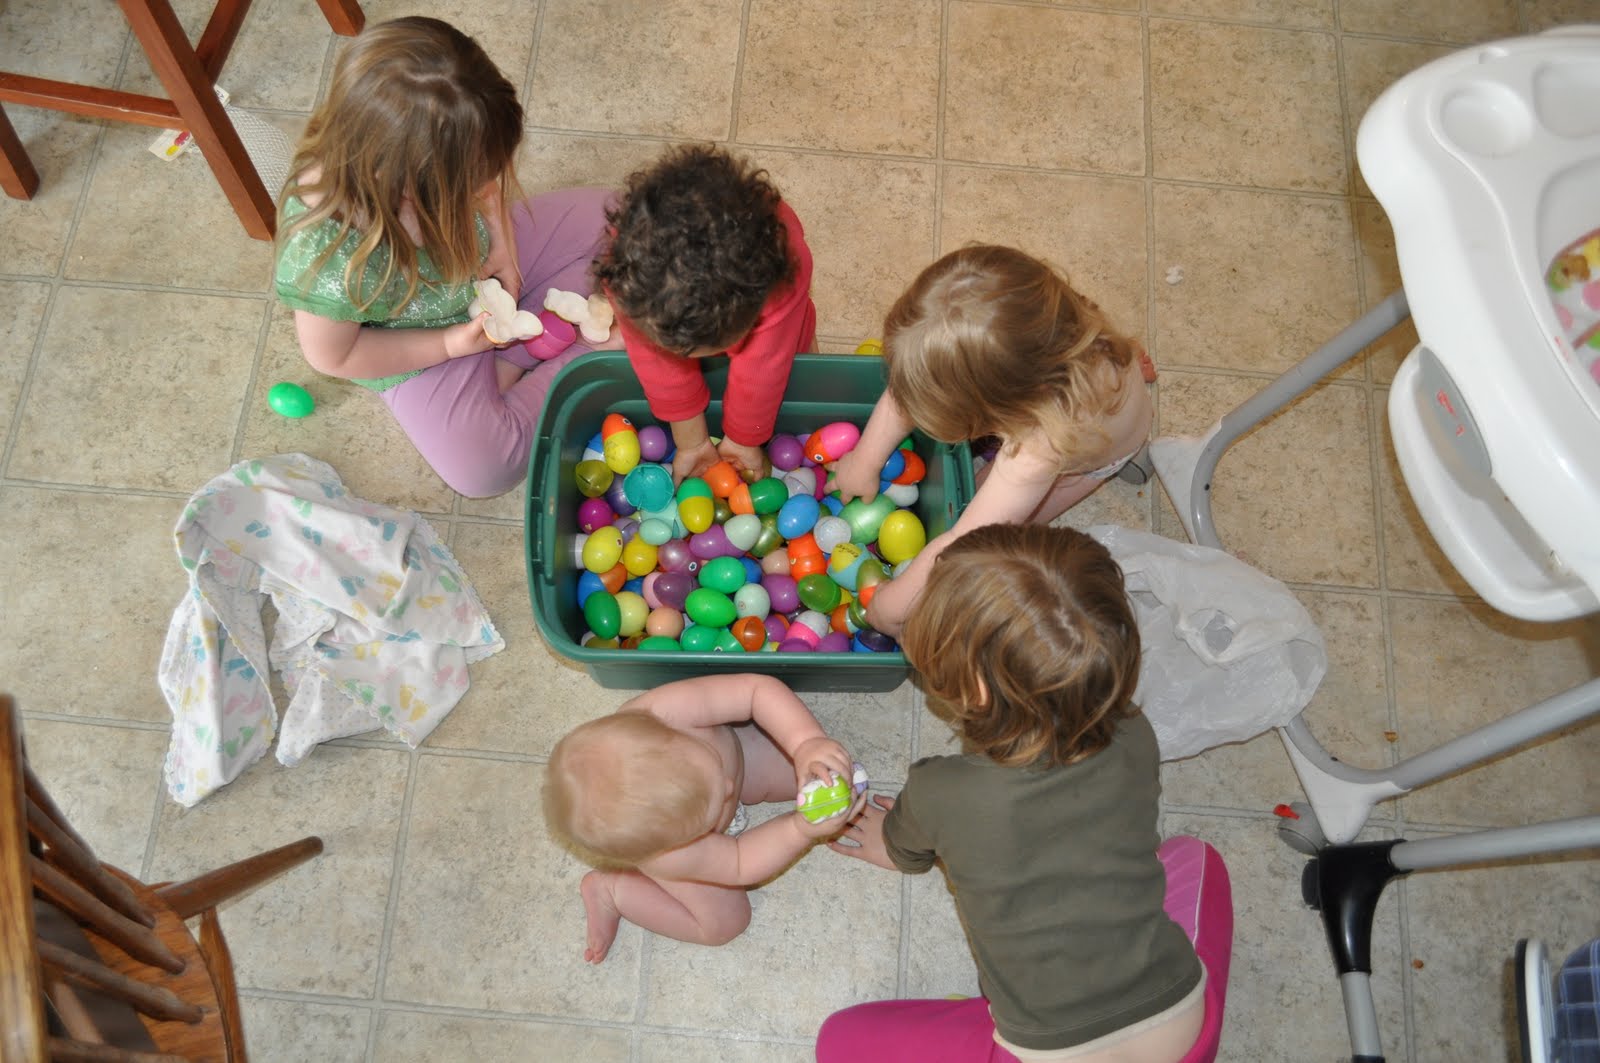
And what did the kids do in-between coloring time?

This has to be the best seasonal babysitter yet!
They were entertained for hours!


Disclaimer:
Sorry about the little streakers!
The two year old refuses to leave her clothes on,
And the baby snuck away from me before I could get some clean clothes on her.

So do you think he'll like it?
The best part is, it doesn't have to be for daddy.
You can make it for grandparents, friends, anyone!