Thursday, April 19, 2012

Neapolitan Easter Dresses {Cheyenne}

Ready for round 2 of Neapolitan Easter Dresses?
I'd say that this one is my favorite, but they all match the girls' style so much that it would be like picking a favorite kid, right?
What can I say about this sweet, strawberry-blond, curly, freckled, Fashonista?
This girl loves clothes.  And she has her own sense of style.
She picks out her own outfits and most of the time they are trendier than what I would have put together for her.
Needless to say, her dress had to be just right.
So when I started a skirt for her that didn't make her eyes sparkle with excitement, I scratched it and moved on to this little number. 
Another thing to be said for Chey, she has NO patience for taking pictures.
As you can see from this next picture...

Come on!  Snap the picture so I can go twirl in my new dress!
 I pulled out the Accessories shirt that was her big sister's last year, and made a sweet "corsage" out of a couple of dollar store daisies I had on hand and some tulle.  It buttons right onto the shirt, so it is easy to remove if my wild-child happens to spill strawberry milk down her white shirt...
Can you guess what I made the slip from?
Curtains!  Ha!
My mom gave me some white curtains that had never been used.
It was so easy! I just used the casing that was already there for the curtain rods.
And the skirt wasn't hard either.  In fact, this was the easiest of the 4 dresses.
If you are interested in a tutorial, let me know.  I will whip the Diva up another skirt.


Wednesday, April 18, 2012

Neapolitan Easter Dresses {Cassidy}

I know I'm a little late, but I promise these are worth the wait.
We're starting with the littlest because her's was the first dress I made.
It was also used for her birthday party, so you may have seen it a little in the party posts. 
I wanted a Neapolitan stripe feel in the skirt.
I made the dress (and all of the other girls' dresses, too) completely from scratch.
Truth is, I'm a little bit put off by patterns.
I attempted one once and had nothing but problems.
It's on my list of many fears to conquer...stay tuned.
I wanted a Neapolitan stripe feel in the skirt.
A large sash (sorry about the not-stellar picture) pulls the sweet dress together and helps to cover more of her sides.
I LOVE this picture.  So sweet.  And a bit of a tradition with us.  Always have to get a picture of the girls smelling the tulips at Temple Square.  We missed it last year because of the crazy amounts of rain we were getting.  
So this is the first one of Cassy smelling the flowers.
Oh, and the other point of this picture was to show you the bow I made for her hair.
It was so crazy windy that day.  Warm, but windy.  Total killer to the cute hair-dos!
I can't believe my baby is THREE!  How did that happen???

Tuesday, April 17, 2012

Teacher Appreciation {A Person's a Person}

I got an email over the weekend, asking me to decorate my daughter's Kindergarten teacher's classroom door for Teacher Appreciation Week.  The catch was, they wanted me to do it Monday morning or afternoon.  My weekend was packed, so I spent Monday putting together a fun door cover.
The classroom is decorated in elephants, so I wanted to use them some way.
Then it came to me.  Horton Hears a Who!
What better for the wonderful person who took care of the the littlest ones for the year? 
I used my Silhouette to cut out the lettering, using the Doctor Soos Bold font. 
I sketched out Horton by looking at a picture from the book.
I added some packing paper to the ears and trunk to make it 3D.
Seeing as it would be touched by dozens of kids all week, I wanted to use something that would hold it together better than Elmers, so I used hot glue...And burnt the crap out of my finger!
That's what I get for rushing when using hot, sticky substances.
I wanted to add some red bushes around his feet, but ran out of time.
All in all, though, I am pretty happy with how it turned out.
I hope Mrs. Schurter loves it as much as we love her!

So what are you doing for Teacher Appreciation this year?
You can go here to see all of my Teacher Appreciation ideas.

Friday, March 30, 2012

Ice Cream Parlor {Ice Cream & the Cherry on Top}

I Scream.  You Scream.  We all Scream for Ice Cream!
Don't these favors just make you want to take a big ol' lick?
I cut the cones out with my Silhouette.
The "ice cream" is made from pink snowballs.  The cherry on top is a red/pink gumball that I stuck on a toothpick and then into the snowball. 
I made the tags up in the My Memories Software
then I printed them on white cardstock and cut them out with my Silhouette.
As you can see from the picture, it didn't cut perfectly, but I still love them!
The tags were also stuck on with a toothpick.
The cones were filled with ice cream scented stickers, ice cream shaped marshmallows, silly bands, an ice cream/treat shaped puzzle eraser, and bubbles.
While the kids entertained themselves dumping out the contents of their bubbles blowing bubbles, Daddy-Did-It got to work "Smooshing" ice cream.
Each person got to choose their mix-ins, ice cream, and toppings.
Then DDI got to work mixing up sweet concoctions.
This is what the Ice Cream Bar looked like.
*Sundae dishes  *Little bowls for the kiddos  *Waffle cones  *Mini cones
*Mini Reece's Pieces  *Chocolate Whoppers  *Strawberry Whoppers
*Heath Toffee Bits  * Andes Mints Pieces  *Mini Chocolate Chips
*Mini Reece's Cups
*Mrs. Richardson's Butterscotch Caramel (all time best.  EVER!)  *Maraschino Cherries
*Sprinkles
*Chocolate Sauce  *Strawberry Sauce
*Neapolitan Oreos
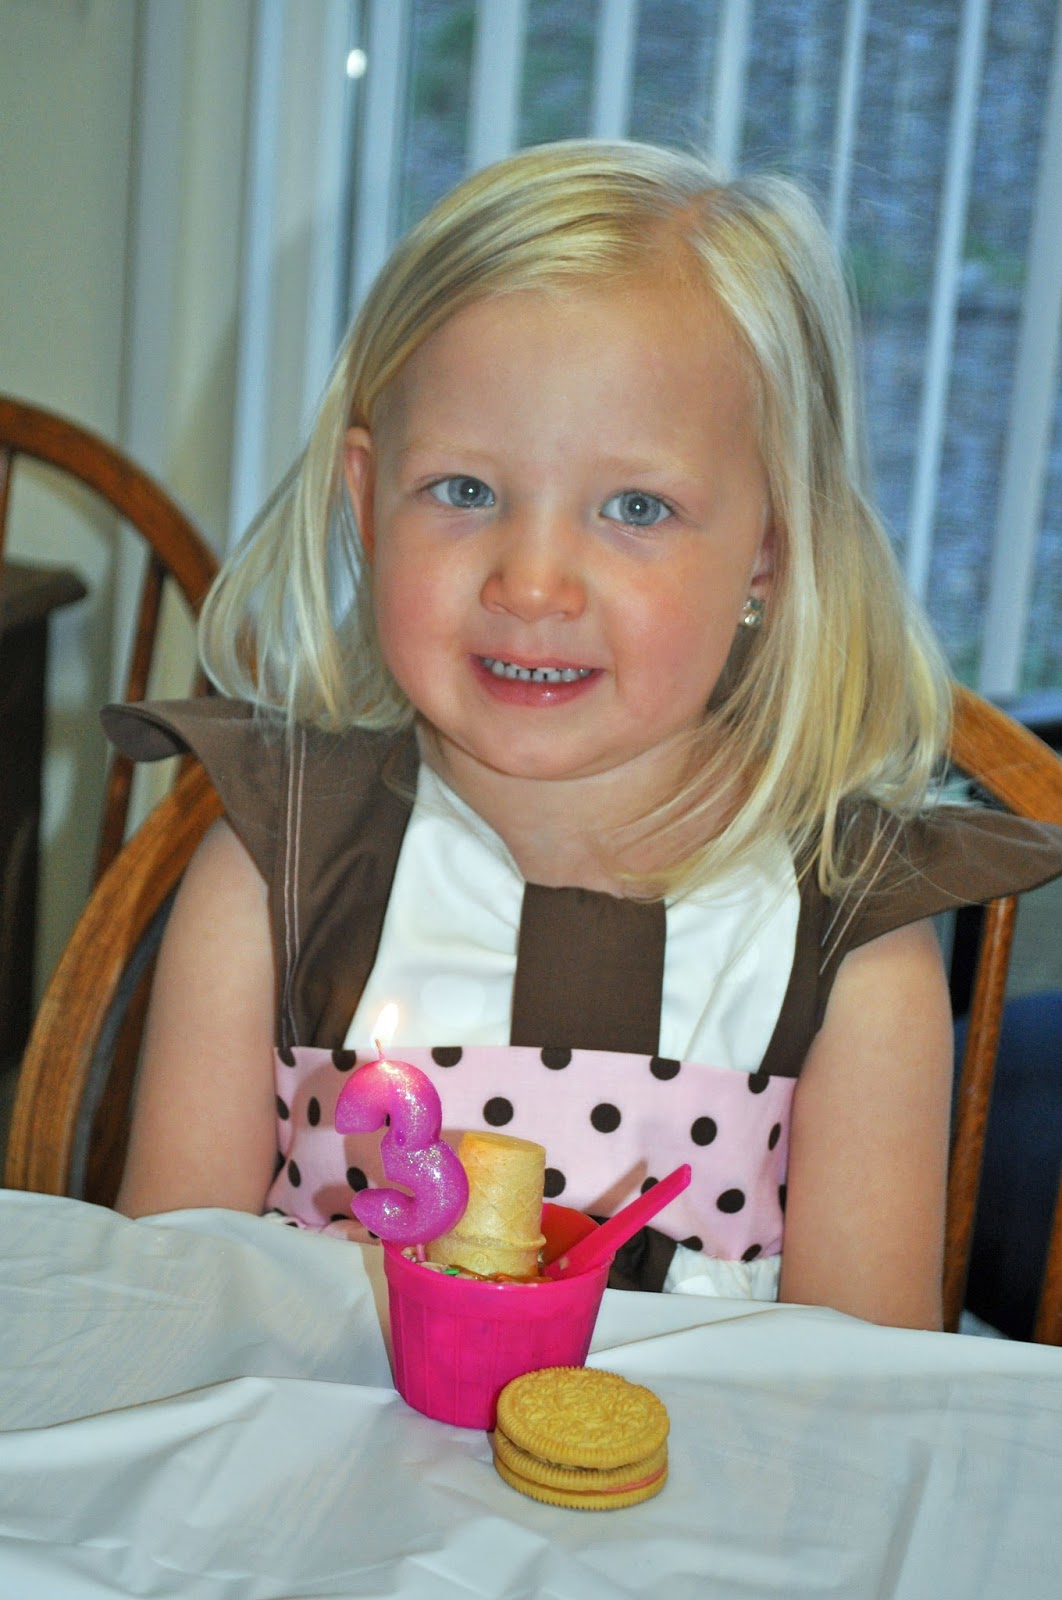
The birthday girl had to have a little of everything!
She loved the Neapolitan cookies, but only the frosting.
She isn't a cake or cookie fan...which is why she didn't have a cake!
And that's it.
Easy Peasy.
No big meal to fuss over.
Just Dessert!
Thanks for sharing my sweet baby's 3rd birthday with us!

Thursday, March 29, 2012

Ice Cream Parlor {Decorations}

Whew!  It's been almost a week since Cassy's second party & I still feel like I am re-cooperating.  That may be because we all caught a stomach bug early this week.  NOT FUN!

Anyway, let's get on to something fun to talk about, shall we?
How about sweet Neapolitan party decor?
Remember I mentioned that I got a new toy just in time to plan Cassy's party?
It was a Silhouette!
I am in HEAVEN!
I can't say enough good about it. I will say that it is SOOO much easier to use than my old Cricut.
And so much more versatile!
I was able to use the fonts right off my computer, so the fonts in the banner match the fonts on the invitations.
For an OCD type like me, this is critical!
I whipped this baby out in no time.
The hardest part was stringing it on the tulle.
For the first party, at my mom's, I hung a Neapolitan pom from her chandelier.
For the second party, at my house, it sat on the patio table.  I think I liked it better on the table.  But, alas, I didn't get a picture of it.
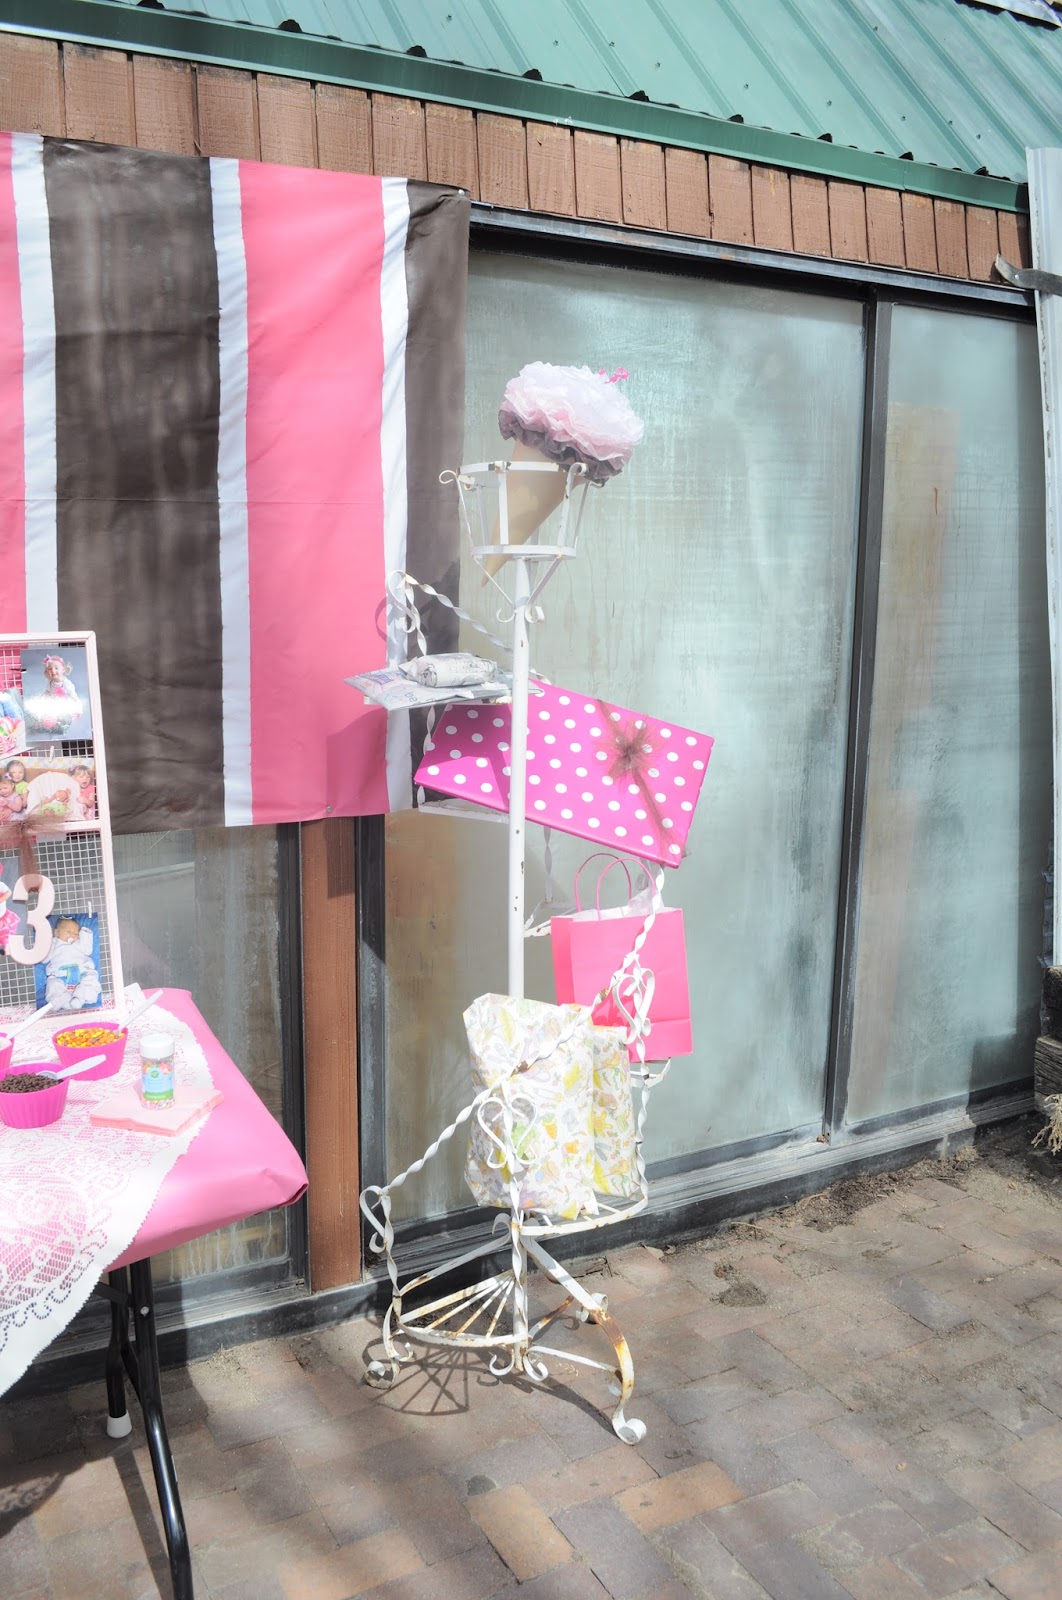
I made this fun GIANT cone out of another Neapolitan tissue paper pom.  I added a glittery 3 as the cherry on top.  I cut out the cone with my Silhouette.
I stuck the cone in the top of this plant holder which doubled as a present stand for the party.
For the backdrop, I first attempted spray painting a giant roll of paper that I had lying around.  The paper tore like crazy and was kind of brittle.  I wanted something that would hold up to being moved from place to place,  so I spray painted a piece of white fabric.  I wish it was a little wider, but I can live with it!
I used part of it for the canopy of the ice cream stand.
(The cute little ice cream cones on the left of this picture were Cassy's present from us at the first party.)
My absolute FAVORITE piece of decor was this frame.
I used an old window frame, spray painted with a soft pink, and backed with some Mason's wire.
I used all my favorite pictures from Cassy's birthdays thus far.
The pictures are held on with mini clothes pinned that I spray painted...I went through a lot of spray paint for this party!
The C & 3 are tied on with brown tulle.
Now that the parties are over, this little gem will be hung on the girls' bedroom wall.  I plan to switch the pictures out for each season/holiday.

Okay, if you made it this far, you deserve a shot of the cute birthday girl.
Isn't she sweeter than ice cream???
Oh, I could eat her up!
I'll show you more of the dress when I get 3 more done.  This one is doubling as an Easter dress.

Come back tomorrow to see the food and favors!

Tuesday, March 27, 2012

Ice Cream Parlor Stand

A couple of years ago, the girls got this little grocery stand for Christmas:
As you can see, it's gotten a little beat up.
The paint was in bad shape and the bottom shelf is completely broken out.
I wanted to use it for Cassy's Ice Cream Parlor party
so Daddy Did It and I got to work.
Some disassembling, sanding, priming, and painting later
We ended up with THIS: 
Oh yeah, I did a little sewing, too.
I'll tell you how I made the custom canopy in a later post.
So, what do you think?
I tell ya, the girls LOVE it!  It's like a brand new toy...one that appeals more to the girly nature of our house!
And it worked great as a stand to hold the gifts and favors...also coming in a later post.


featured button

Tuesday, March 6, 2012

Ice Cream Parlor Party Invites

It's here again, Cassy;s Birthday!!!  I always seem to go over the top with her parties (click here for her 1st birthday & here for her 2nd birthday).  Even more so than the rest of the girls.  Maybe it is because she has the first birthday of the year.  Or maybe it is because she is still little enough that she doesn't really care what I do.  So I can go wild on any theme I choose...so long as there are sweets involved!

This party was inspired by something my dad used to say to us when I was little, and now I say (and my kids say to each other).  The conversation would go like this:

Child:  I'm thirsty.
Dad:  I'm Friday.  Come over Saturday and we'll have a Sundae.
Child:  {rolling eyes}

Anyone else familiar with that one?
I had seen so much cute ice cream ideas on Pinterest (click here to see my party ideas board), I just had to go with an Ice Cream Parlor theme.
This lucky little girl gets TWO parties this year!
One for Daddy's family
And one for Mommy's family
Because you can never have too much ice cream, right??? 
I used the My Memories Suite to make the invitations.  It was so easy!  And they look like I spent a lot of money on custom invitations.  The best part, I made them as a 4x6 so I can just have them printed off at Costco as a standard picture.  And I just so happen to have a coupon for 50 free prints.  Score!  Adorable free invites!

Now I'm off to play with a new toy that came in the mail.  Lots more Ice Creamy goodness to come.  I promise!